AI Video · PRACTICAL GUIDE
Plan and create an AI commercial with Google Flow
Follow a storyboard-first Google Flow workflow: define a bike-shop commercial, refine scenes, manage character references, and assemble the result.
Watch the original tutorial
Open the original video on YouTube ↗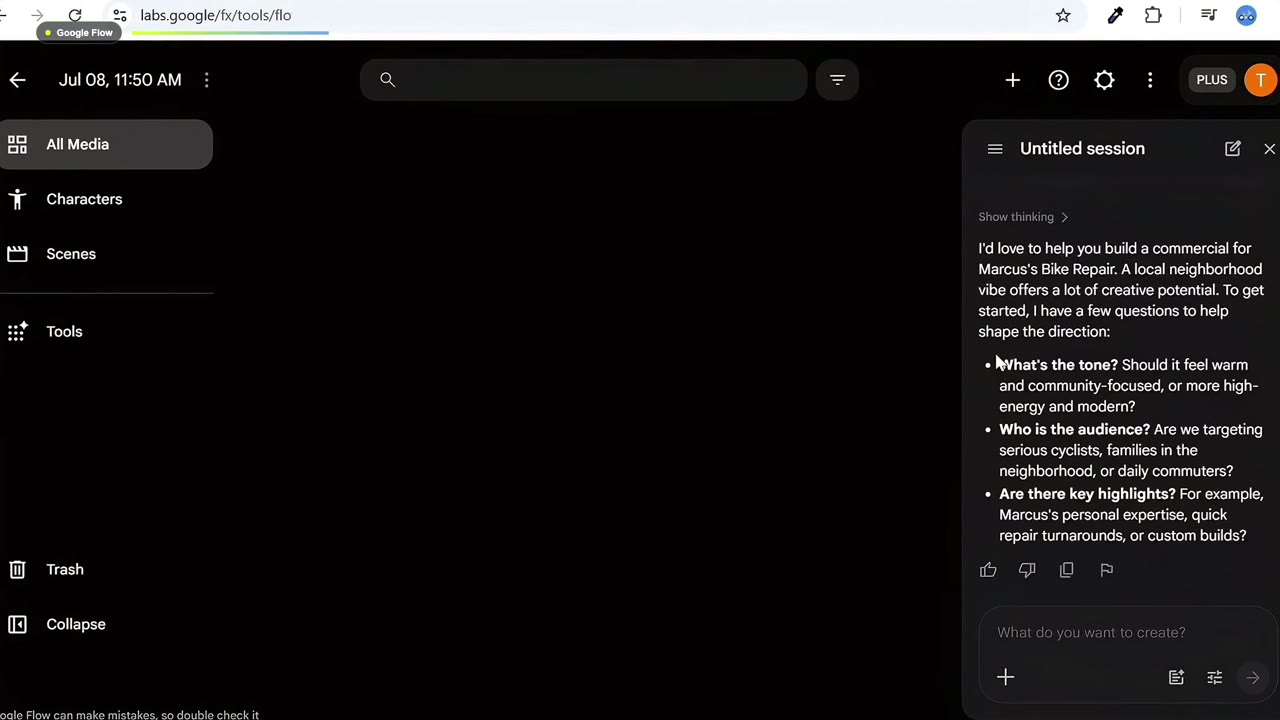
A coherent AI commercial needs more than several attractive clips. It needs a clear story, recognizable characters, and shots that fit together. Thiago’s Google Flow tutorial demonstrates that process with a neighborhood bike-shop commercial.
The practical lesson is to settle the story before generating video. This guide follows the narrated example and identifies where current controls or costs must be checked in your account.
What you’ll learn
- Turn a broad idea into a scene-by-scene storyboard.
- Give precise feedback about characters, props, and framing.
- Keep generation costs visible while iterating.
- Assemble the main story and a separate outro into a scene.
Before you start
Open Google Flow with an eligible Google account. Features and generation options can vary. Review the current settings and displayed credit cost before generating anything; the example’s 15-credit render is a historical result from that session, not a current price quote.
Google documents both Agent and standard prompt workflows. If you want a conversational planning experience, check whether Agent is available and enabled in your project. Do not assume the standard prompt box will always interview you or produce a storyboard before generating.
1. Define the commercial’s purpose
Create a project and describe the business, intended audience, and tone. In the tutorial, the example is Marcus’s Bike Repair, a neighborhood shop. The planning conversation explores whether the commercial should feel warm and community-focused and which customer needs it should highlight.
Decide what you want the viewer to understand. A fast repair, a friendly service experience, and a custom build are different messages. Choose a central story before asking for more visual detail.
2. Review the storyboard as a sequence
The narrated example develops six frames: the shop at sunrise, a child arriving with a bike, a repair close-up, a working-day sequence, the happy customer leaving, and a commuter riding at sunset.
Review more than the individual shot descriptions. Check how each scene leads into the next and whether the commercial’s message is visible without extra explanation.
For each frame, inspect the subject, action, camera angle, setting, lighting, and dialogue. Keep character names and important props consistent. Correct contradictions in the plan before commissioning another render.
The source emphasizes text-stage revisions. Treat those as a planning habit, not a universal claim that every assistant interaction or preview is free. Use the pricing displayed in the current product.
3. Give specific scene feedback
The tutorial asks for a shop logo to appear behind Marcus in the scene with David and Maya. Referring only to “his daughter” can leave the intended frame unclear.
Name the characters and the frame you mean. State where the object belongs and how visible it should be. Then inspect the result instead of assuming the request was followed exactly.
The same principle applies to objects. The example warns that “tire” may produce a car tire when you meant a bicycle tire. Use the precise noun and explain its role in the shot.
4. Generate and inspect the main video
When the storyboard is ready, review the requested output and displayed cost. Generate the intended sequence and preview it with sound.
Check continuity: does the character still look like the same person, does the setting match, and does the dialogue fit the action? A successful render can still contain a continuity or storytelling problem.
Request a specific revision to the affected moment. Keep a version you can compare so that improving one detail does not hide a new problem elsewhere.
5. Create a separate outro
The video creates an outro with the shop sign against a forest-green background. It is generated as a separate clip, with its own approval and cost in that session.
Plan the ending around the commercial’s message. Check that the business name is legible and correctly spelled, and that the closing shot gives the viewer enough time to read it.
6. Assemble and export
Add the main video and the outro to a scene in the intended order. Trim the ends to improve pacing, then review the complete sequence with sound before downloading it. Google’s scene-editing documentation covers the current assembly and editing controls.
The tutorial also describes downloading clips separately for editing in CapCut. That is an option if you prefer to finish in your usual editor.
7. Use character references deliberately
The narrated workflow creates and names Marcus, assigns a voice, and reuses the character in prompts. Current Google guidance describes referring to named characters with @ and to your own avatar with @me where supported.
Inspect identity and voice across every scene. A reusable reference can help, but it is not a guarantee of perfect consistency. Use only reference material you have permission to use.
Troubleshooting and common questions
Why did the wrong scene change?
Name the frame, characters, and intended change precisely. Compare the revised scene with the storyboard and check neighboring scenes for continuity.
Is every storyboard revision free?
The creator describes that behavior in the recorded session. Check the current product’s displayed costs and feature terms rather than treating the old example as a pricing promise.
Why does the result feel like unrelated clips?
Return to the storyboard. Check the order of events, repeated characters, lighting, and transition from the main story to the outro. Fix the story and references before generating more variations.